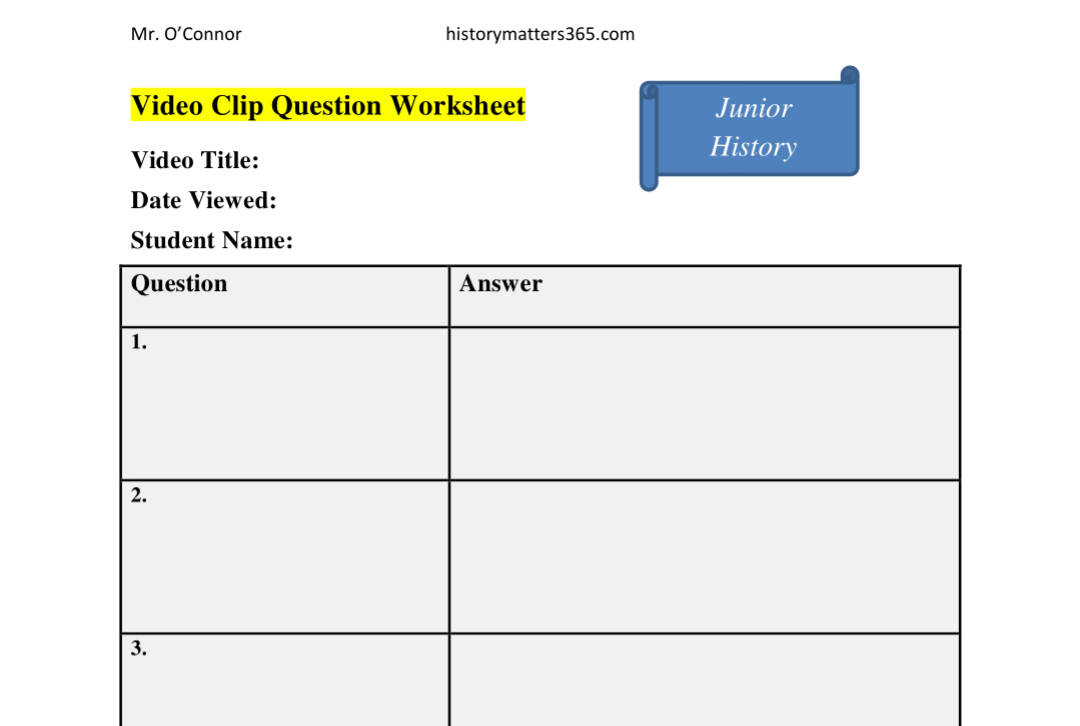
 Video clips are an excellent teaching and learning resource. At the fore of their use for education is YouTube. There are a few golden rules that should be followed in order to ensure video clips, YouTube or otherwise, are used effectively. Learning should not be passive! Don't just press play and expect students to learn. Video clips should always be watched with purpose. I suggest preparing a worksheet with questions and a follow-up exercise to go with the video clip. Select material with caution. Don't play a video clip in class without first viewing it yourself. Short clips are best! Anything more than 10 minutes, and students begin to tune out. In my experience, clips of between 5 and 10 minutes are ideal. Introduce an inquiry question to start; one overarching question that the class will discuss having watched the clip and completed the worksheet. This approach is especially useful for teaching History. E.g. What was the impact of the Third Home Rule Bill? Use pause function. Pause the clip at opportune times and gather question responses or give students a chance to write a long answer on the worksheet. Take feedback. This ensures students are live to the clip. It also tells you if they are learning effectively during the viewing part of the lesson. Assign a follow-up exercise. They can use what they have learned from the video clip but they will also need to investigate a new source. For example, a match-up exercise where students must now also research the relevant section of the textbook. Having completed the worksheet, including the follow-up exercise, return to the inquiry question. Discuss! If the learning has been effective, students should be able to discuss the inquiry question more confidently than at the start. Always have a back up plan. We've all been there. You have the perfect video clip and a super worksheet with a follow-up exercise. You're all set, only for the projector to break down or the internet to disconnect. Expect the unexpected. Don't overuse video clips in class. The more you use them the less effective they become. Vary your teaching and learning methods! Below are two useful resources. The first is a YouTube based lesson for junior students on the Impact of the Third Home Bill. The clip and the accompanying worksheet are used by students to investigate an inquiry question. There is also a follow-up exercise. The second is a blank video clip question worksheet. I use this resource with my junior classes. A busy teacher does not always have time to make an individual video clip worksheet from scratch. This resource can be used when time is limited. Hand write questions onto the sheet and photocopy as appropriate. Assign your follow-up exercise separately. YouTube based lesson Inquiry Question: What was the impact of the Third Home Rule Bill?
Video clip question worksheet
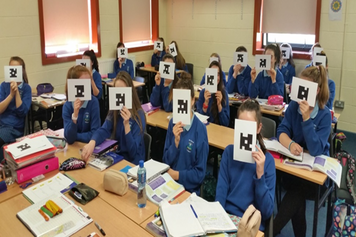
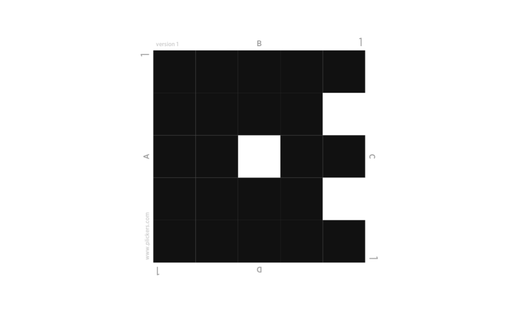
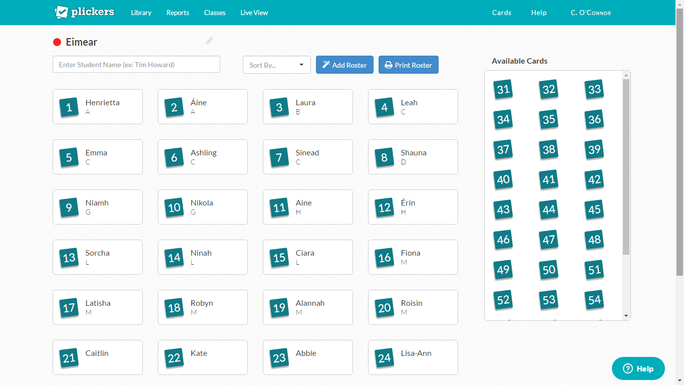
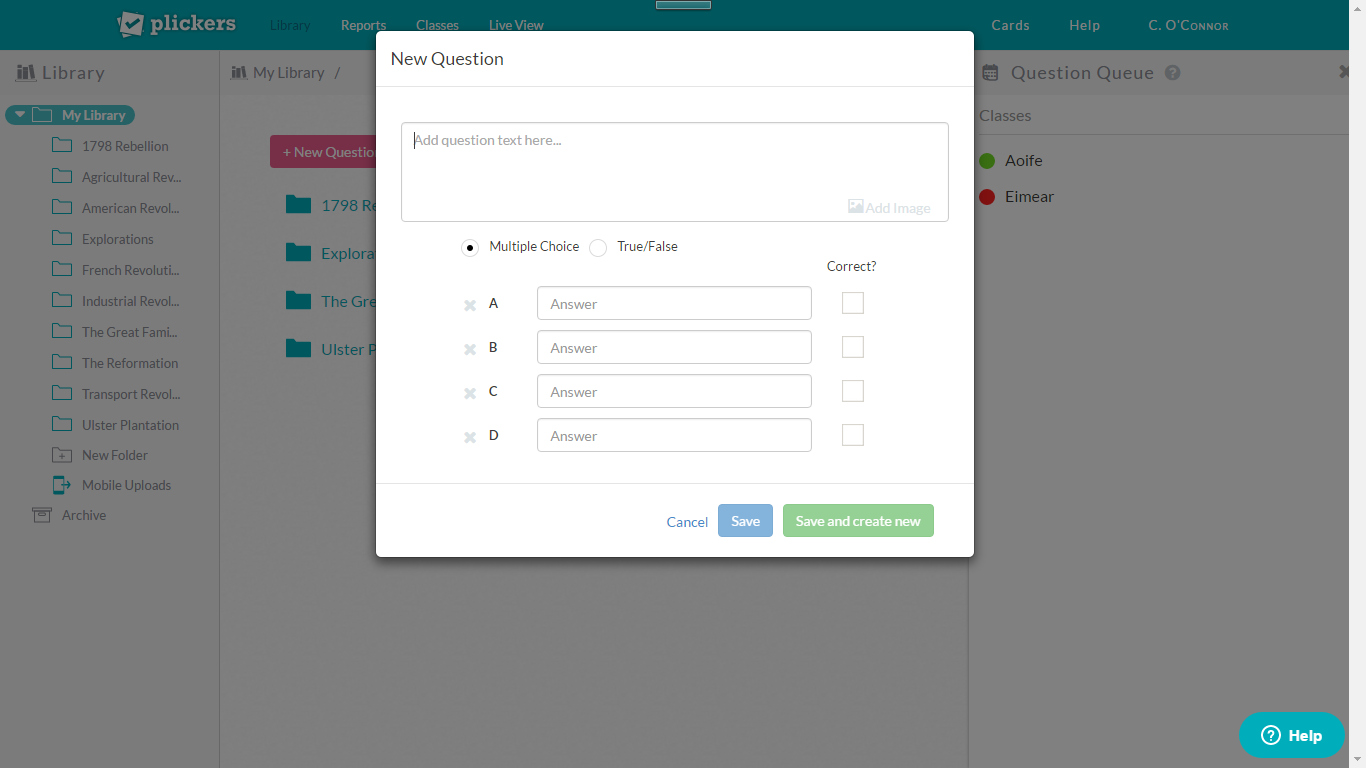
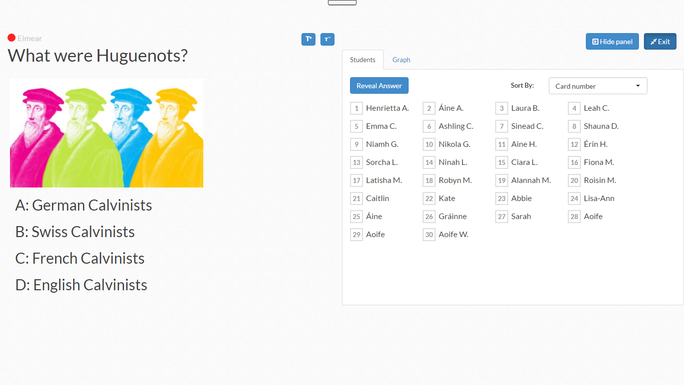
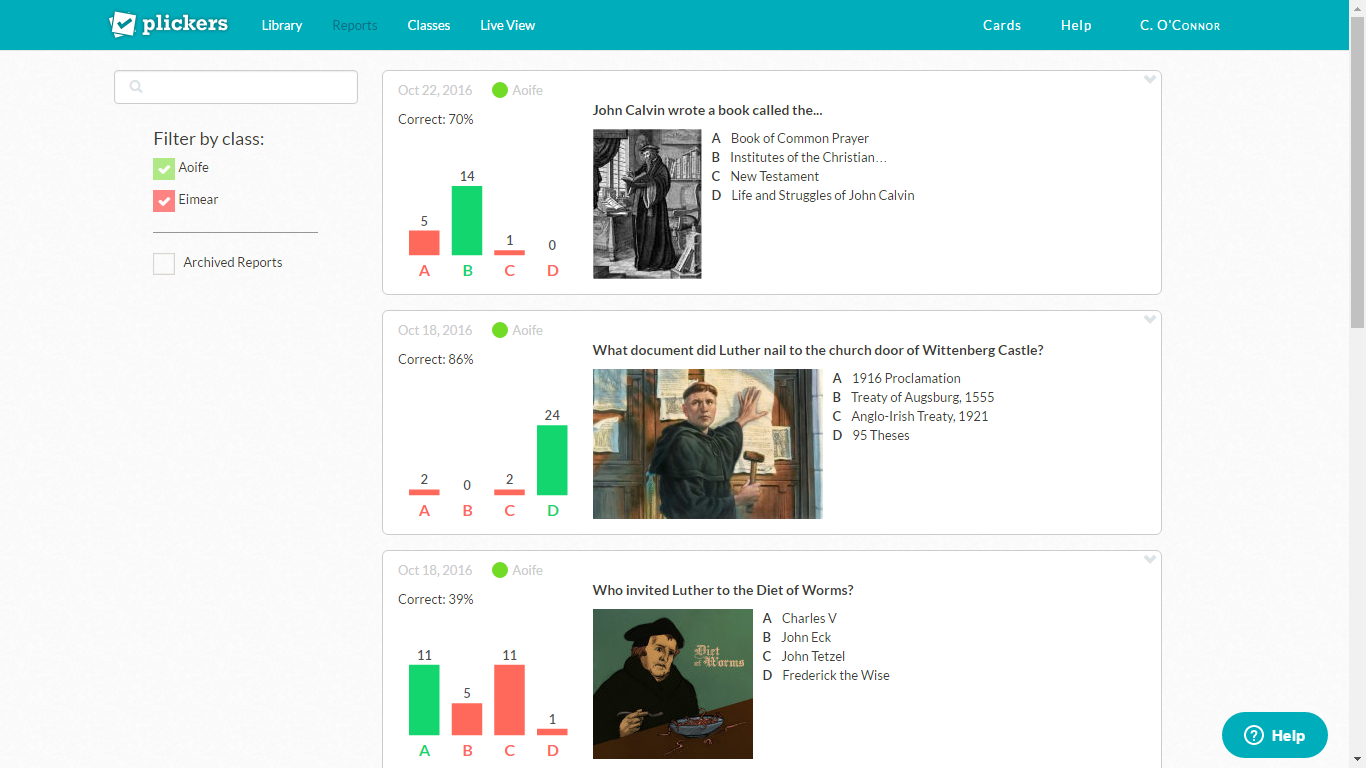
Plickers (i.e. paper clickers) is a formative assessment digital tool that can be used by you to collect classroom responses from students in real time. This tool is particularly useful for classrooms without student devices. You will need an internet enabled computer, smartphone or tablet, projector, large screen and a set of code cards. In order to gather students' responses, you must download the free app onto your smart device. Students do not need to download the app. Instead, they will each need a code card. These can be printed, for free, via plickers.com. I advise you to print onto white card paper for durability. The code card could then be pasted to the inside cover of a student notebook. Alternatively, print using normal paper, matte laminate the cards and store them in the classroom. The same card set can then be used for multiple classes. Each code card has a unique number that can be assigned to individual students. The code card has four sides, lettered A, B, C and D. Each side of the card represents an answer choice. Class groups are set up using the Plickers website. Plickers automatically assigns card numbers to students as names are entered. The next step is to add questions. Using the web go to your Library and toggle the '+' icon. Questions can be multiple choice or true/false. Make the questions more appealing by adding images. Questions can be organised into folders as well as assigned to specific class groups. Open the app on your mobile device and select the class. Go to your Library and select the question you want to display. Select the Live View tab on the web to display question and class to a large screen via a projector. You also have the option to queue multiple questions. A student will hold the card so that the chosen letter is at the top. Tap the camera icon and scan responses. Select the Live View tab on the website to instantly display results on the large screen. The Live View will show the overall results only, ensuring anonymity for a student who has answered incorrectly. The app, which only you can see, will display the answer given by each individual student. All the data will be stored on the web for you to monitor progress via the Question History and Scoresheet tabs. I tend to use Plickers half-way through a lesson to check for student understanding. If I am satisfied with the responses I carry on with the lesson as planned. If I am unsatisfied with the responses I alter the lesson plan accordingly. It also allows me to identify an individual student who may be struggling where others are not. Plickers is a brilliant tool if you want to practice formative assessment in the classroom using digital technology! Watch the helpful video below:
Excellent PowToon video about the voyages of Christopher Columbus made by Kate and Sarah, Presentation Secondary School, Ballyphehane. |
History Matters 365 BlogAuthorChristian O'Connor, history teacher, St. Mary's Secondary School, Mallow, Co. Cork. Categories
All
Social MediaMailing ListGDPR compliant.
|
||||||||||||||

