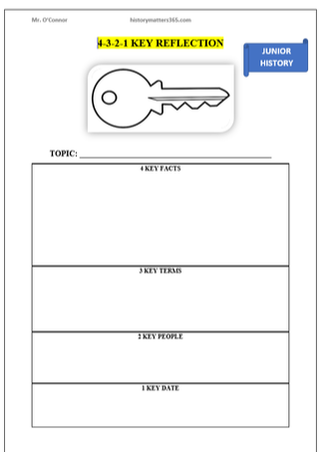
4 Key Facts
3 Key Terms
2 Key People
1 Key Date
| 4-3-2-1_key_reflection.pdf |
|
0 Comments
 Video clips are an excellent teaching and learning resource. At the fore of their use for education is YouTube. There are a few golden rules that should be followed in order to ensure video clips, YouTube or otherwise, are used effectively. Learning should not be passive! Don't just press play and expect students to learn. Video clips should always be watched with purpose. I suggest preparing a worksheet with questions and a follow-up exercise to go with the video clip. Select material with caution. Don't play a video clip in class without first viewing it yourself. Short clips are best! Anything more than 10 minutes, and students begin to tune out. In my experience, clips of between 5 and 10 minutes are ideal. Introduce an inquiry question to start; one overarching question that the class will discuss having watched the clip and completed the worksheet. This approach is especially useful for teaching History. E.g. What was the impact of the Third Home Rule Bill? Use pause function. Pause the clip at opportune times and gather question responses or give students a chance to write a long answer on the worksheet. Take feedback. This ensures students are live to the clip. It also tells you if they are learning effectively during the viewing part of the lesson. Assign a follow-up exercise. They can use what they have learned from the video clip but they will also need to investigate a new source. For example, a match-up exercise where students must now also research the relevant section of the textbook. Having completed the worksheet, including the follow-up exercise, return to the inquiry question. Discuss! If the learning has been effective, students should be able to discuss the inquiry question more confidently than at the start. Always have a back up plan. We've all been there. You have the perfect video clip and a super worksheet with a follow-up exercise. You're all set, only for the projector to break down or the internet to disconnect. Expect the unexpected. Don't overuse video clips in class. The more you use them the less effective they become. Vary your teaching and learning methods! Below are two useful resources. The first is a YouTube based lesson for junior students on the Impact of the Third Home Bill. The clip and the accompanying worksheet are used by students to investigate an inquiry question. There is also a follow-up exercise. The second is a blank video clip question worksheet. I use this resource with my junior classes. A busy teacher does not always have time to make an individual video clip worksheet from scratch. This resource can be used when time is limited. Hand write questions onto the sheet and photocopy as appropriate. Assign your follow-up exercise separately. YouTube based lesson Inquiry Question: What was the impact of the Third Home Rule Bill?
Video clip question worksheet 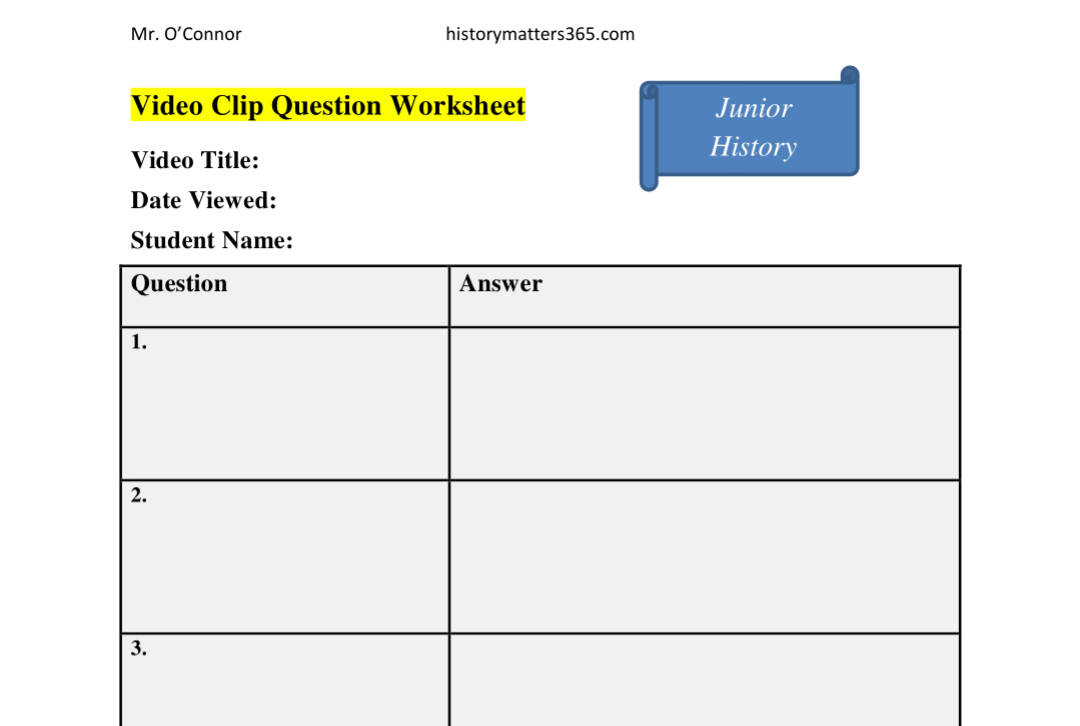
Below is a target sheet that teachers can use to provide leaving cert history essay feedback to students. 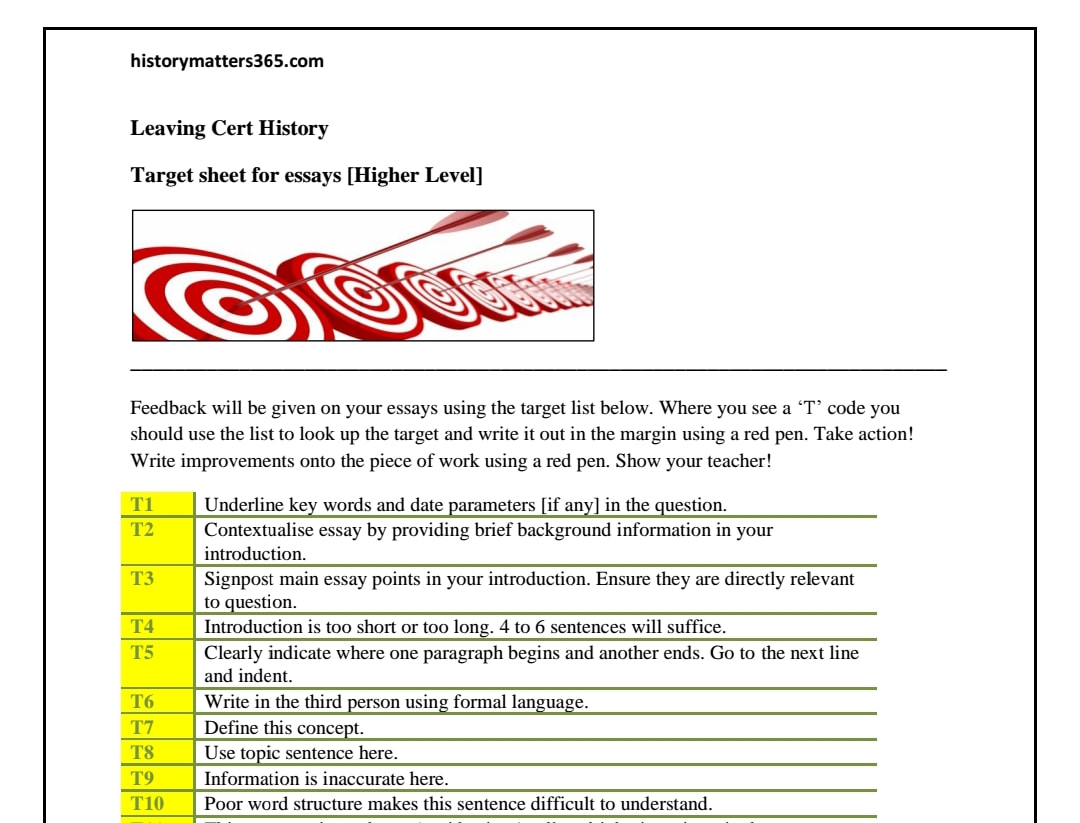
Plickers (i.e. paper clickers) is a formative assessment digital tool that can be used by you to collect classroom responses from students in real time. This tool is particularly useful for classrooms without student devices. You will need an internet enabled computer, smartphone or tablet, projector, large screen and a set of code cards. 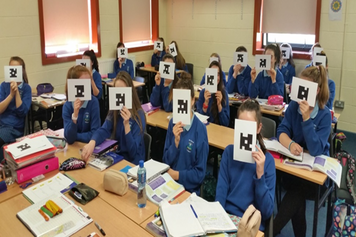 History students responding to a multiple choice question using code cards. In order to gather students' responses, you must download the free app onto your smart device. Students do not need to download the app. Instead, they will each need a code card. These can be printed, for free, via plickers.com. I advise you to print onto white card paper for durability. The code card could then be pasted to the inside cover of a student notebook. Alternatively, print using normal paper, matte laminate the cards and store them in the classroom. The same card set can then be used for multiple classes. Each code card has a unique number that can be assigned to individual students. The code card has four sides, lettered A, B, C and D. Each side of the card represents an answer choice. 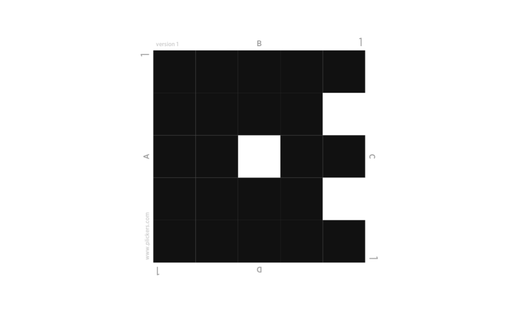 Code Card, Number 1 Class groups are set up using the Plickers website. Plickers automatically assigns card numbers to students as names are entered. 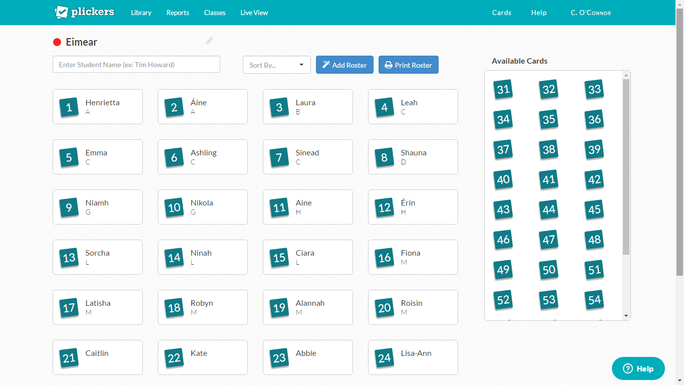 Class group and student names. The next step is to add questions. Using the web go to your Library and toggle the '+' icon. Questions can be multiple choice or true/false. Make the questions more appealing by adding images. Questions can be organised into folders as well as assigned to specific class groups. 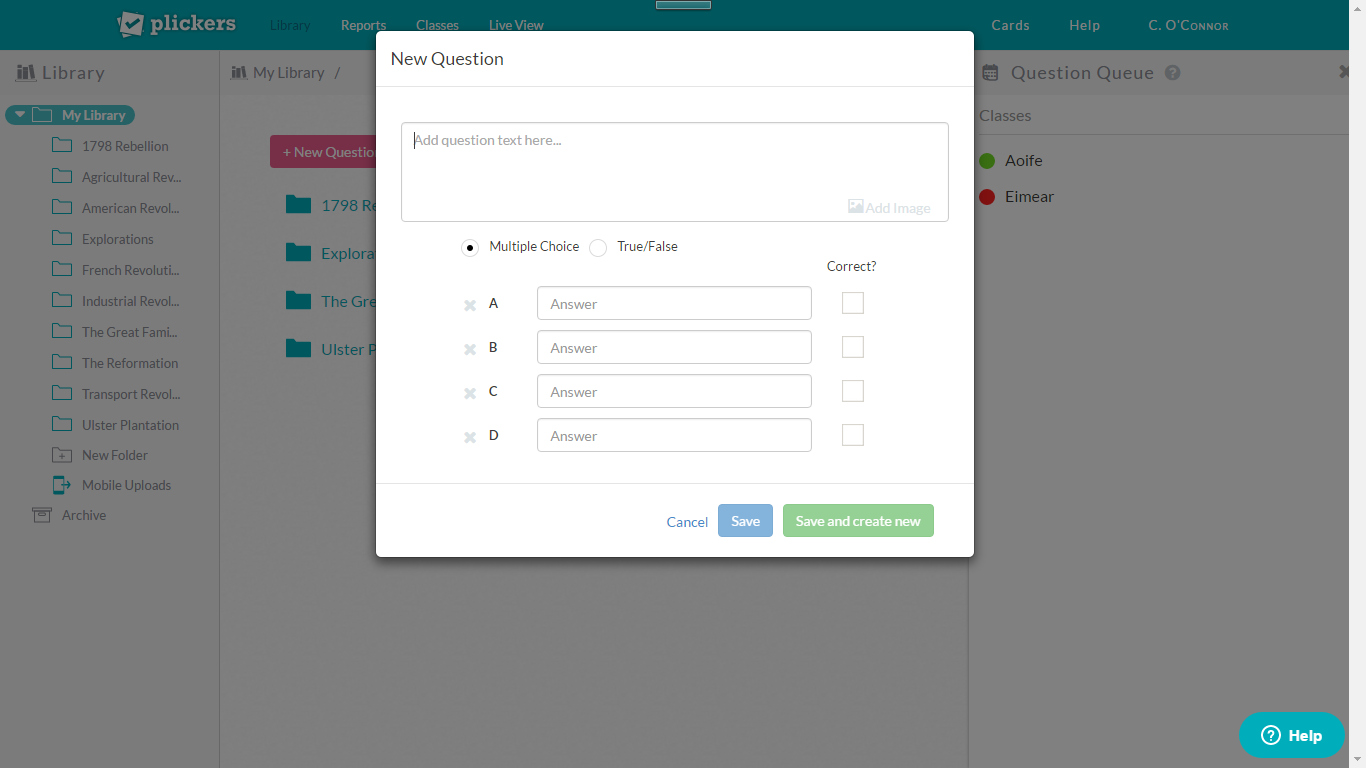 Adding a question to your Library. Open the app on your mobile device and select the class. Go to your Library and select the question you want to display. Select the Live View tab on the web to display question and class to a large screen via a projector. You also have the option to queue multiple questions. 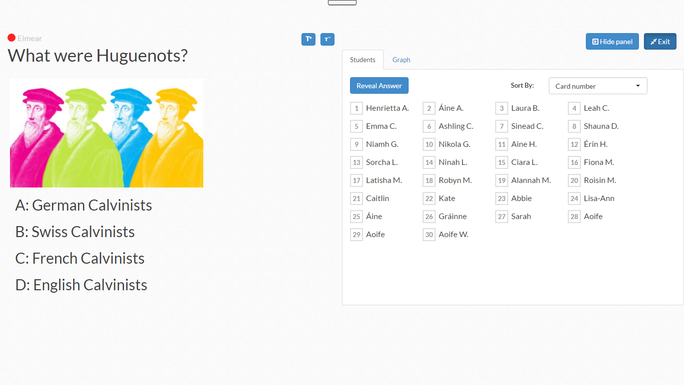 Question and class in Live View for the large screen. A student will hold the card so that the chosen letter is at the top. Tap the camera icon and scan responses. Select the Live View tab on the website to instantly display results on the large screen. The Live View will show the overall results only, ensuring anonymity for a student who has answered incorrectly. The app, which only you can see, will display the answer given by each individual student. All the data will be stored on the web for you to monitor progress via the Question History and Scoresheet tabs. 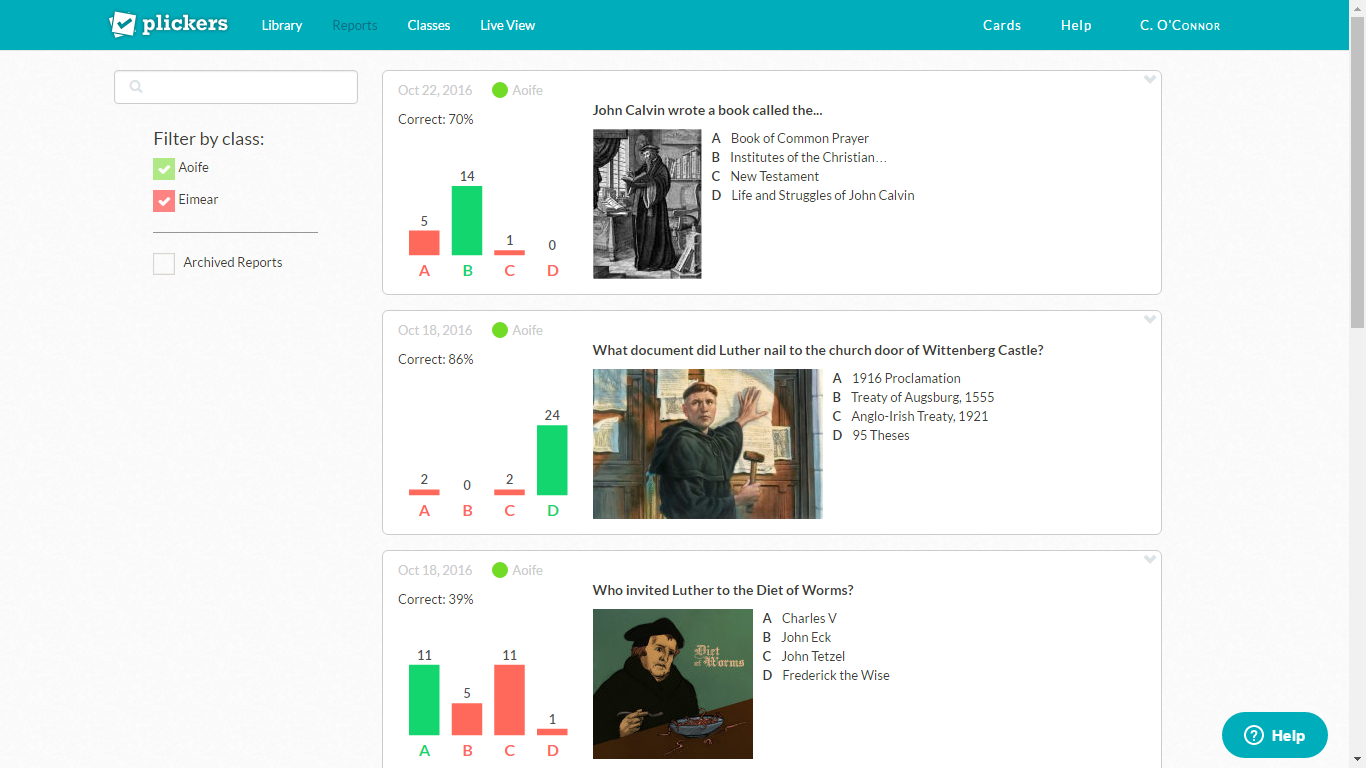 Question History for a class group. I tend to use Plickers half-way through a lesson to check for student understanding. If I am satisfied with the responses I carry on with the lesson as planned. If I am unsatisfied with the responses I alter the lesson plan accordingly. It also allows me to identify an individual student who may be struggling where others are not. Plickers is a brilliant tool if you want to practice formative assessment in the classroom using digital technology! Watch the helpful video below: 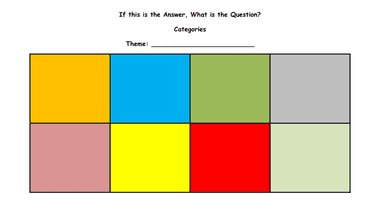 Get your history students to generate questions from answers based on a section of coursework by playing a fun game. This game is an educational take on a segment from the popular TV show Mock the Week. For 2 teams of 2-4 players and a Quizmaster. What do you need? Categories Playing Cards (Including tie-breaker playing card) Question Words Bell or buzzer Object of the game Collect the highest number of playing cards. To set up Place the bell and the Question Words in the centre of a table. The 2 teams sit either side of the table facing each other. Project categories onto a large screen and/or place a print-out on the table. The Quizmaster sits between the teams with the playing cards in hand. There is one playing card for each category. Decide which team chooses the first category. This is Team A. To play The Quizmaster calls the first answer from the chosen playing card. First player to ring the bell and provide a question scores 1 point for his/her team. The Quiz master keeps note of the score. Disputes over a question are decided by the referee (teacher). Once all answers have been questioned, the team with the most points keeps the playing card. Team B chooses the next category. Remember You must ring the bell, if you wish to suggest a question. To win The winning team has, at the end of the game the most playing cards. The game ends when all of the cards have been used. In the event of a tie, the quizmaster will use the tie-breaker playing card. Few Tips Develop the skills needed for this game by occasionally assigning the ‘This is the Answer, What is the Question?’ worksheet for classwork or homework prior to completing coursework. Number of categories, playing cards and answers can be varied for a shorter or longer game. Use an odd number of answers for each playing card. Laminate and cut materials as appropriate for repeat use. Teams of more than 4 players will lead to student disengagement. 3 player teams are recommended. If you don’t have a bell or buzzer, consider an alternative. Suggestion: First player to call his/her name. Set up multiple tables of 2 teams depending on the size of your class group. Blank and Editable Resource: Categories
Blank and Editable Resource: Playing Cards
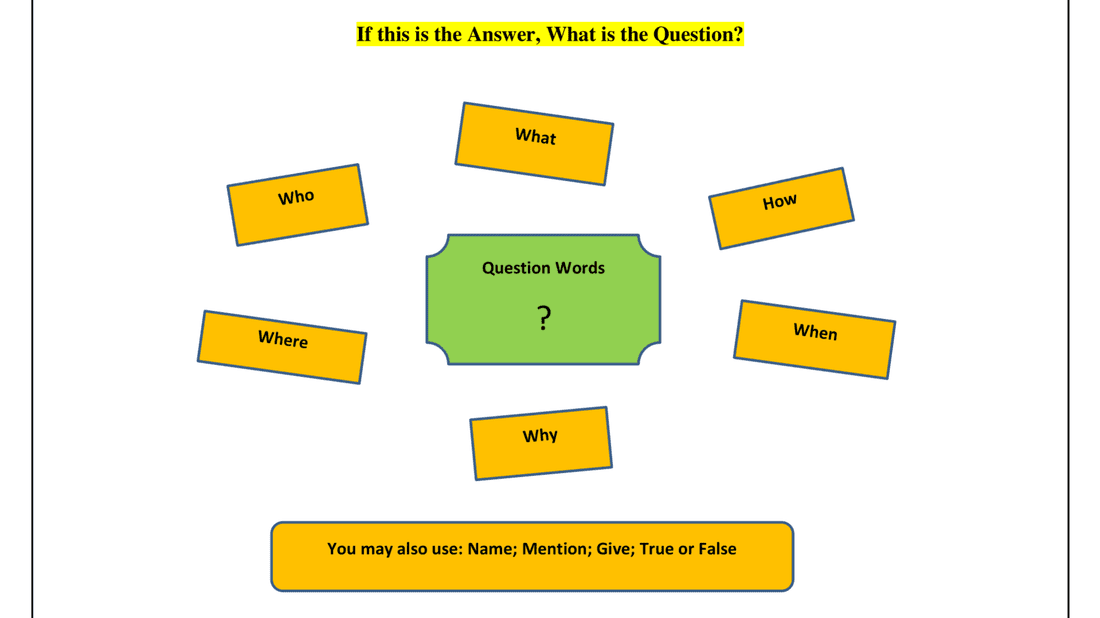
Question Words
Sample Categories: Age of Explorations
Sample Playing Cards: Age of Explorations
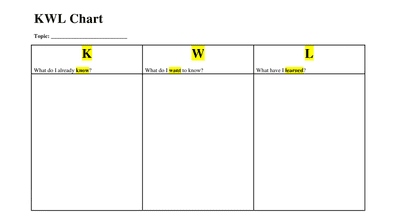
KWL is an inquiry based strategy that facilitates students as independent learners to identify prior knowledge, set and achieve goals. In advance of employing the strategy, a teacher should first model KWL on the whiteboard using a different topic from the one to be researched by the students. Below is a KWL chart that can be given as a handout. Students can work as individuals or in pairs. The strategy can be applied to a single lesson, a week or a section of coursework. Assign a topic for study. Students must brainstorm prior knowledge using K. Share and discuss K responses as a class. The teacher uses the whiteboard to note responses. Learning goals are set using W. By setting their own learning goals students are more likely to be motivated. The goals also ensure that research is active rather than passive. Some students may find it difficult to frame questions. Help by listing question words on the whiteboard (Who; What; Where When; Why; How). They then research using the history textbook and/or a different source(s). L stands for what they learned as a result of the research. Students compare W and L to check if learning goals have been achieved. Share and discuss W and L responses. Again, the teacher notes the responses on the whiteboard. The teacher may have to correct inaccuracies. Vary the strategy by adding more columns to the chart e.g. 'Something I hope to Remember'. KWL Chart
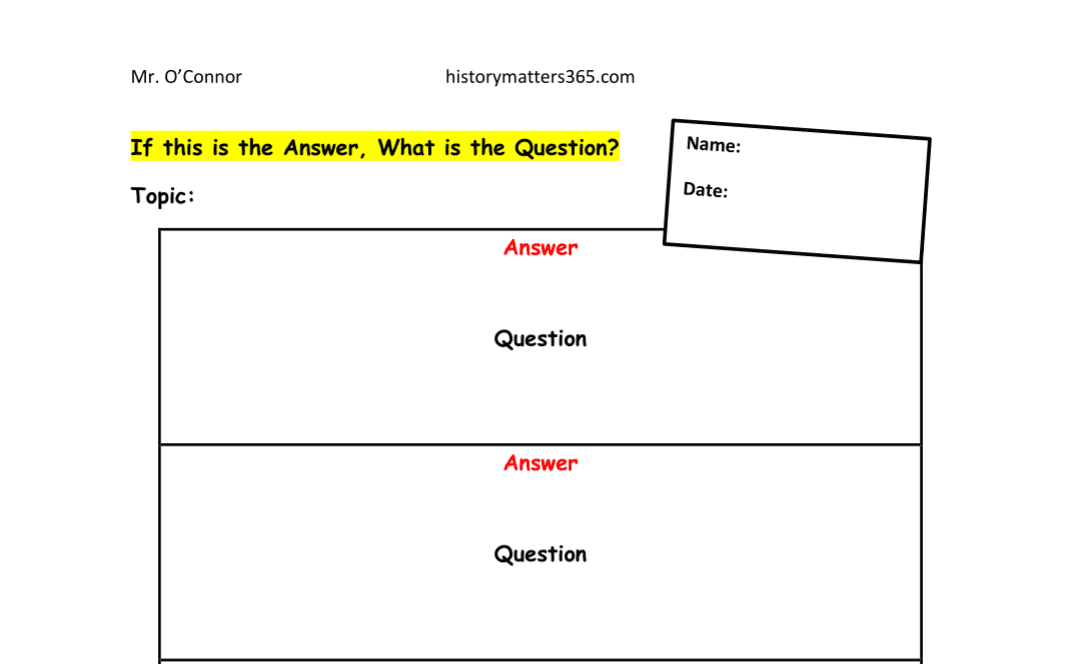
I keep six honest serving men Teach your students to frame questions using: what; why; when; how; where; and who. 'If this is the Answer, What is the Question?' is a great teaching strategy for this purpose. It is based on a segment from the popular TV show Mock the Week. Below is a Question Words poster. This may be printed A3 or A2 size, laminated and displayed on the classroom wall. Give students a set of answers based on a topic of study. Use the worksheet below by handwriting answers and photocopying one for each student. They must frame a relevant question for each answer using a question word. Name, mention, give, true or false can also be used to frame questions. They may use each question word only once. Keep this in mind when deciding the answers! This exercise may be assigned for homework or classwork. If assigned for classwork I encourage teachers to allow students to work in pairs. Give this exercise multiple times while teaching a section of coursework. It won't take long before students have mastered the strategy. Having completed a section of coursework, revise and have fun by playing the 'If this is the Answer, What is the Question?' game.
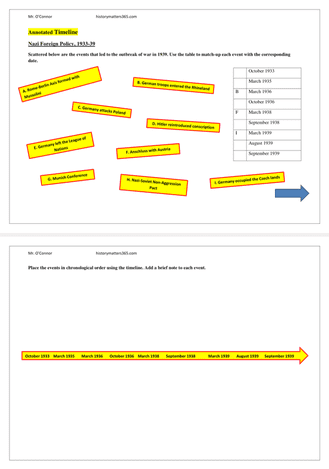 The timeline is a tried and trusted history teaching strategy. Challenge your students to place a series of connected events in chronological order. This task can be given in class or for homework. It is an excellent strategy for engineering numeracy moments in the history classroom. Example: How many years was Henry VIII married to each of his six wives? I often give students a match-up exercise prior to assigning them the task of creating a timeline. This ensures students have a required number of events in correct sequence. They are free to add more events should they wish. Difficulty level is increased if students have to research events without the match-up exercise. There is scope here for differentiation. Weak students work with the aid of a match-up exercise. Strong students work without the aid of a match-up exercise. Ask more of your students by getting them to annotate or add a brief note to each event. It is good practice to follow up by taking feedback and drawing a timeline on the classroom whiteboard. Get your students to annotate using post-its. Assign one event to each student and distribute post-its. As each student finishes the note, he/she attaches the post-it to the allocated event on the whiteboard. If you have a large class group, you will need to allocate one or more event(s) to multiple students. Use the finished annotated timeline on the whiteboard as an aid for discussion and questioning. Students can 'upgrade' their own timelines by reference to the whiteboard. 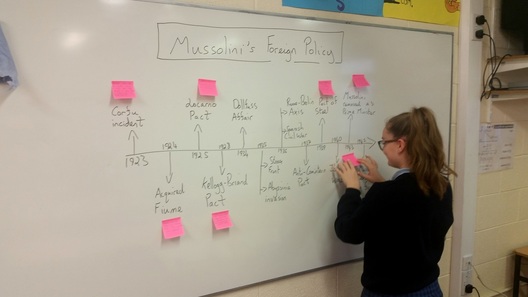 A fifth year student annotating an event on a timeline using a post-it Annotated Timeline with Match-Up Exercise: Nazi Foreign Policy, 1933-39
Blank Annotated Timeline
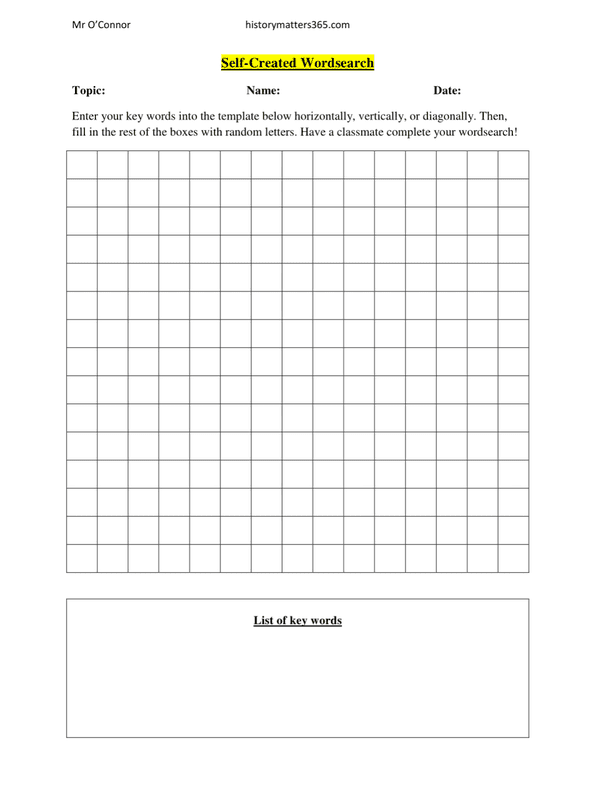
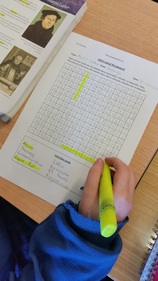 Martin Luther self-created wordsearch Martin Luther self-created wordsearch Wordsearch puzzles are an excellent literacy tool for getting students to work with key historical terms. The strategy is particularly effective when introducing or reinforcing difficult concepts. Traditionally, a teacher will make the wordsearch. Discovery Education Free Puzzlemaker is a super online tool for this purpose. The teacher prints, photocopies and distributes the wordsearch he/she has created. Students then work in pairs to solve the puzzle. Of course, this works very well. However, for a somewhat more effective approach, get your students to make their own wordsearch puzzles. It's more fun! They may use Discovery's online tool or a blank template. Below is a blank template which can be used by students to self-create a wordsearch. Having studied a topic, a student must brainstorm 6-8 key terms and list in the box provided. These terms are then inserted horizontally, vertically or diagonally into the blank template. Hide the key terms by filling the remaining spaces with random letters. The student then swaps with a classmate who must solve the puzzle using a highlighter. This strategy can also be used for homework. Having created the wordsearch at home, a student will swap with a classmate at the beginning of the next lesson. This helps with recall of what was learned the previous lesson. I advise teachers to extend the learning by using the key words generated by the students to form a scatter diagram on the whiteboard. The scatter diagram can then be used as an aid for discussion and questioning.
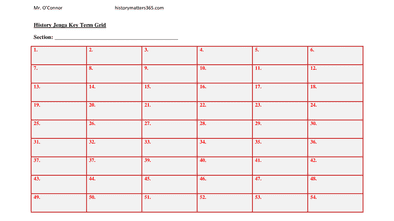
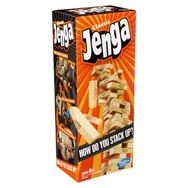 Classic Jenga Classic Jenga History Jenga is an educational twist on the classic game. Revise for a test or simply check for understanding having completed a section of coursework. There are 54 blocks in a Classic Jenga stack. Label each one with a numbered sticker. Prepare a numbered table of key historical terms, questions or tasks. Break your class into teams and let the fun begin! What do you need? 54 Classic Jenga blocks (Available from any good toy store) Sticker labels Stacking sleeve (Optional) Table of key terms (See History Matters template below), questions or tasks How to play 2 or more teams Set up the tower. Place three blocks per layer, alternating direction by layer. With only one hand, the first player from the first team removes a block from anywhere below the highest completed layer. The player can touch the blocks to find a loose one. He/she takes note of the number on the block. The block is placed on top of the tower. Wait 10 seconds. Use this time to refer to the key term table. If the tower falls, the player loses. If the tower stands, the player uses the key term to generate a piece of factual information, answers the question or completes the task. Example: Key Term > Martin Luther Fact > Martin Luther nailed his 95 Theses against the church door of Wittenberg Castle Succeed and the next player from the next opposing team must take a turn. Fail and the next player on the same team must take a turn. If a fact is disputed by an opposing team, the referee (teacher) will make a judgement. The winner is the last team to stack a block without causing the tower to crash! Few Tips
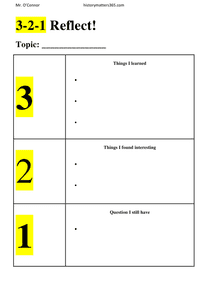
3-2-1 Reflect is an easy way to check for student understanding and gauge interest in a topic. It is a simple, effective formative assessment strategy. Distribute the handout below, during or at the end of a lesson. The student will record three facts learned, two interesting facts and one question he or she still has. The teacher then reviews the responses. If class responses are unsatisfactory, the material may need to be given more class time. The questions they have can be used to direct future learning.
Excellent PowToon video about the voyages of Christopher Columbus made by Kate and Sarah, Presentation Secondary School, Ballyphehane. |
History Matters 365 BlogA history teacher's survival guide.
AuthorChristian O'Connor, history teacher, St. Mary's Secondary School, Mallow, Co. Cork. Categories
All
Social Media

Mailing ListGDPR compliant.
|
||||||||||||||||||||||||||||||||||||||||||